Cable display mockups on your own photo.
Hang static and digital displays on cables in your client’s window, then save the layout as a pack to use again.

- Placed on a real shop photo
- Digital displays on cables
- Static displays on cables
Cable mount positions follow the spec.
Cable mount positions can be adjusted to meet the product’s specifications. Any manufacturer’s spec sheet maps to these inputs.
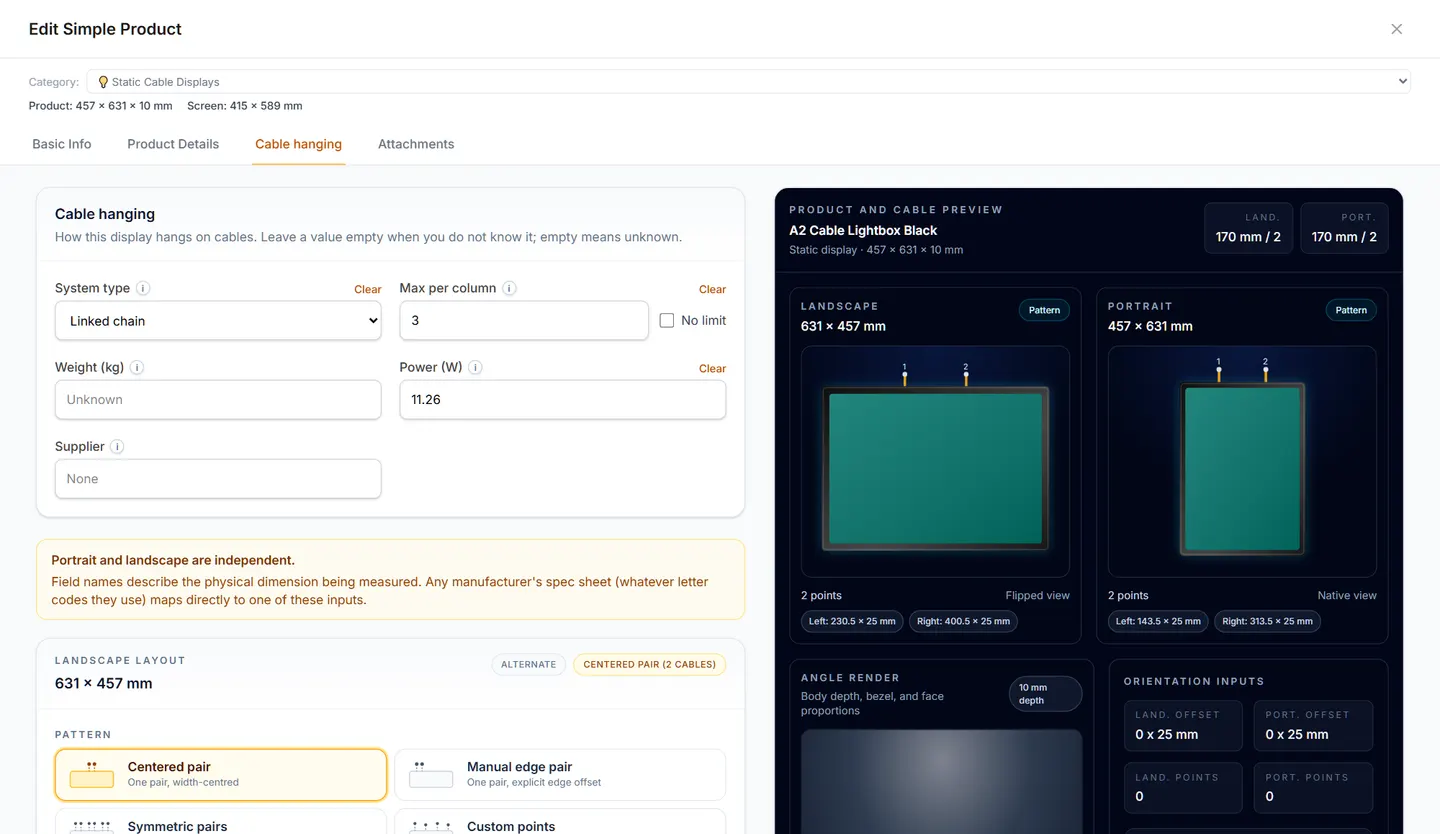
A static display. 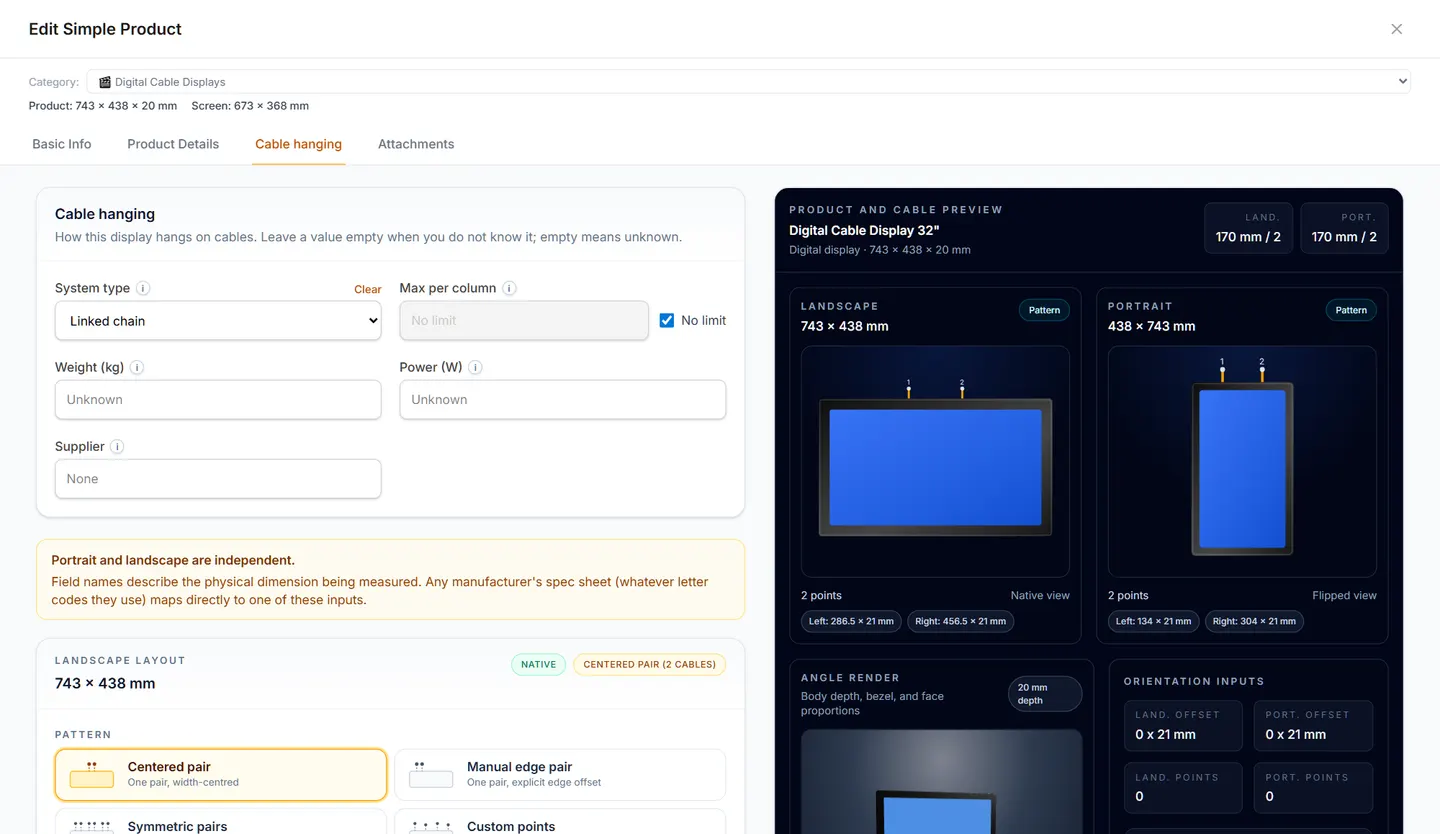
A digital display. The same tab, the same settings.


Set the system and the limit
On a product’s Cable hanging tab, choose the System type and the Max per column.
Choose the cable points
Pick a pattern, then check the points in the preview.
- Centered pair
- Manual edge pair
- Symmetric pairs
- Custom points
Portrait and landscape
Each orientation has its own cable points. They are independent.
Screens shown may change.
Hang static displays.
Add the displays to a showcase, hang them on cables, then fill them with artwork.
Add them to a showcase
Add your static displays, then select them together.
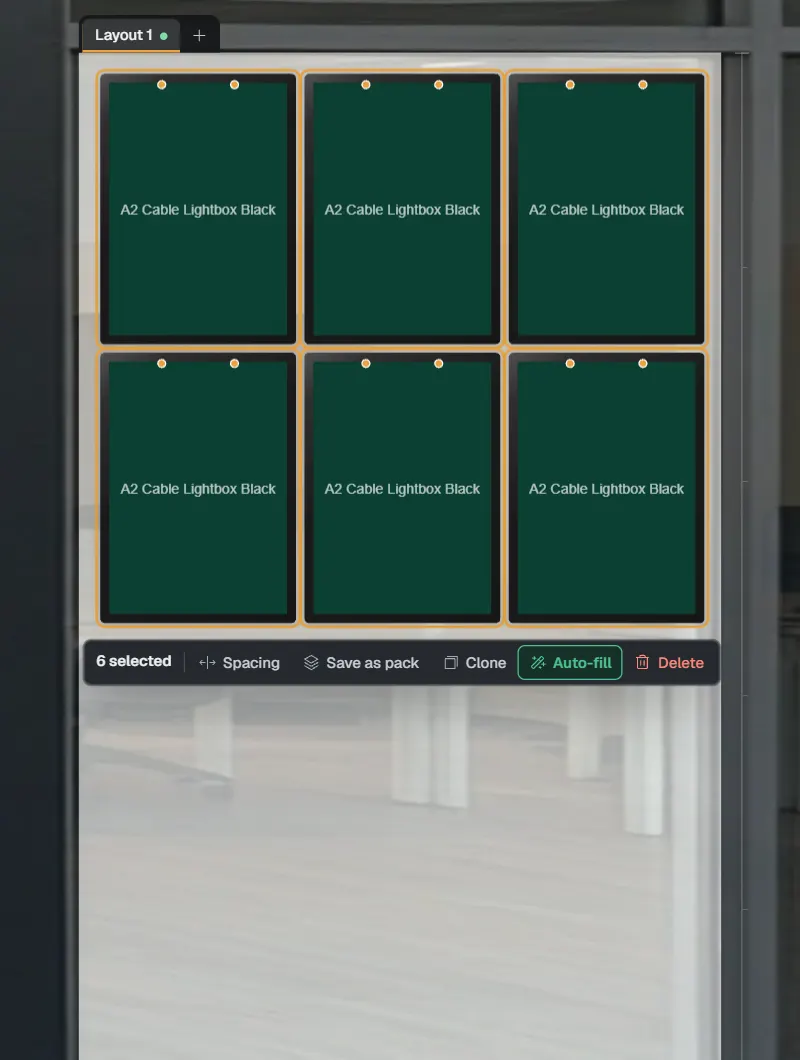
Hang on cables
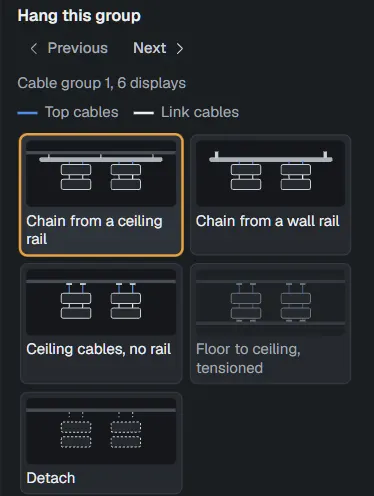
Click Hang on cables, then pick the hanging style.
- Chain from a ceiling rail
- Chain from a wall rail
- Ceiling cables, no rail
- Floor to ceiling, tensioned
Add visuals
Click Auto-fill to put artwork on every display.
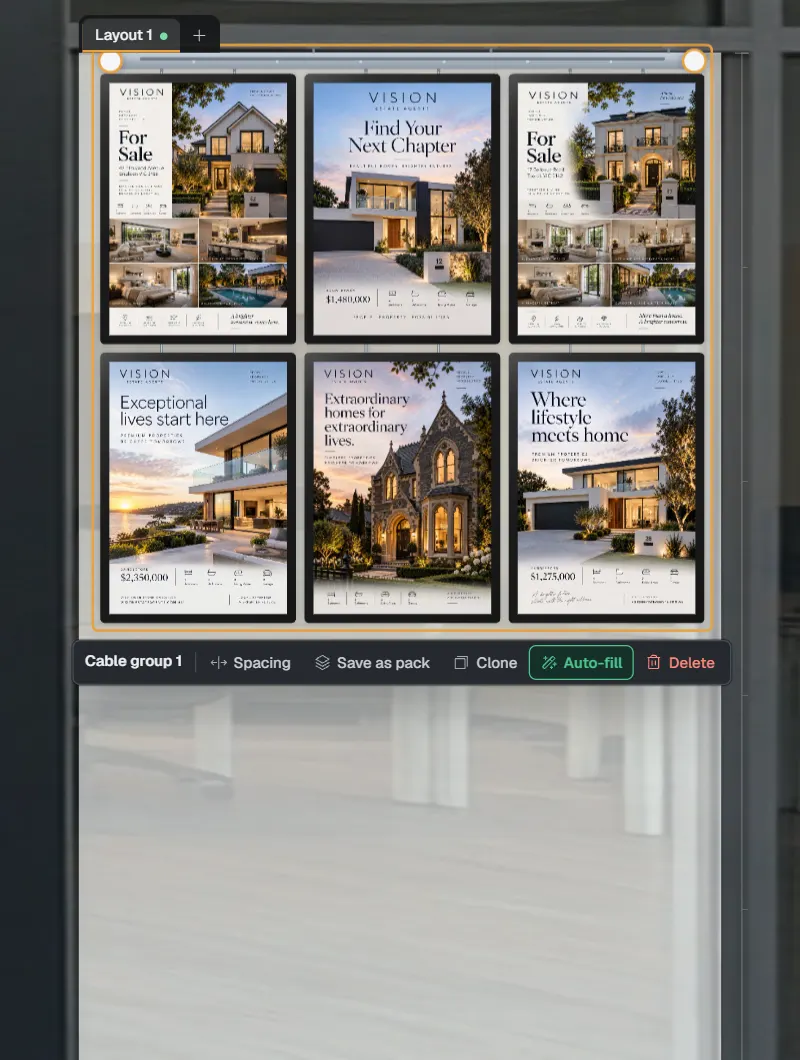


Screens shown may change.
Then hang digital displays.
The steps are the same. On digital screens, the red play marker shows the display is digital.
Add them to a showcase
Add your digital displays, then select them together.
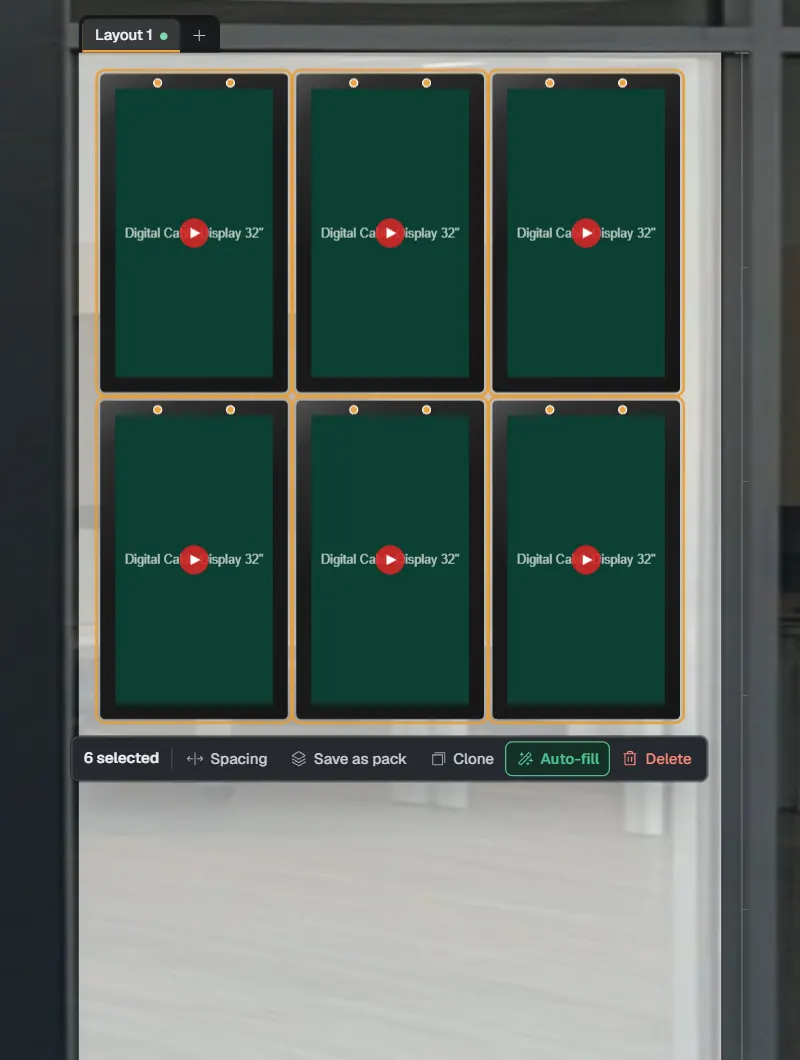
Hang on cables
Click Hang on cables and pick the same hanging styles.
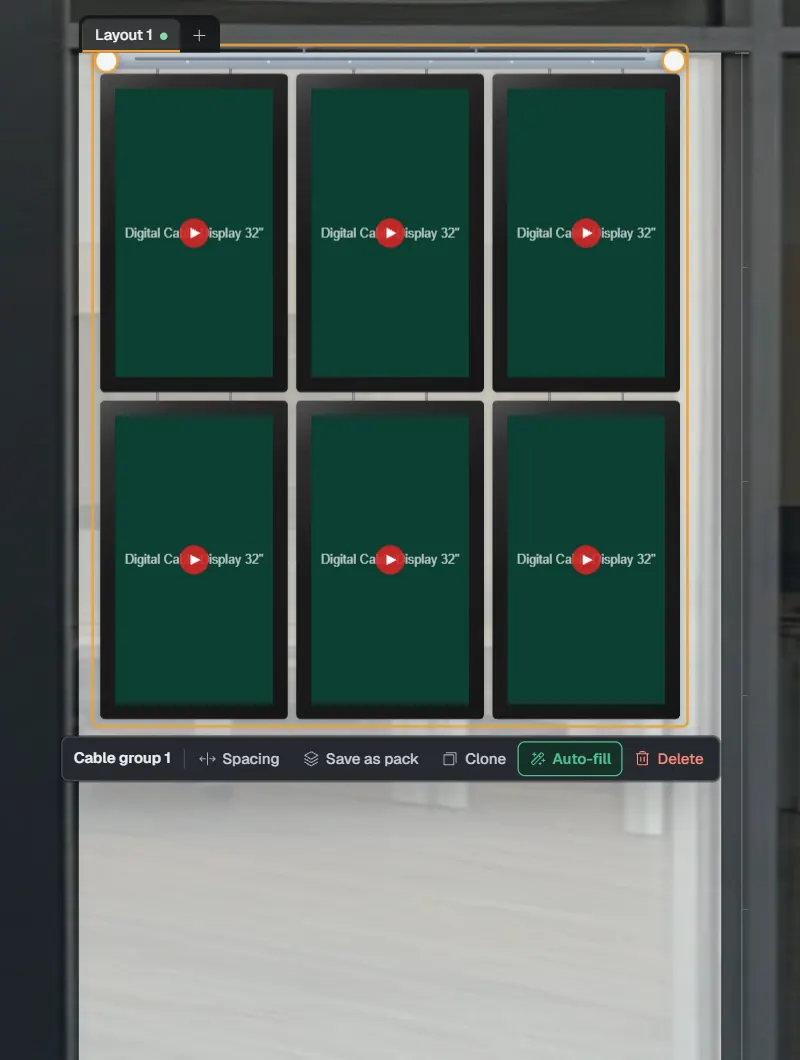
Add visuals
Click Auto-fill to put a video or a still on every display.
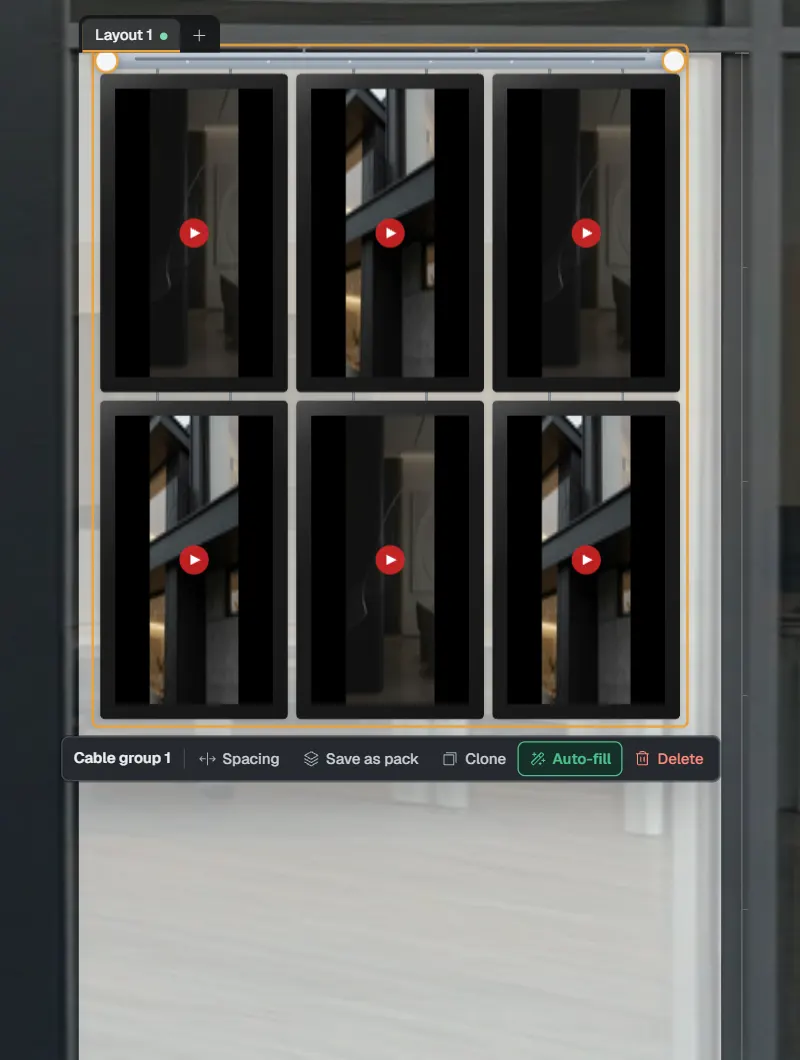


Screens shown may change.
Set the rail. Check the kit.
Rails and top cables are cut to any length, so type the real distance.


- Set the Rail length and choose a Ceiling or Wall mount.
- Click Fit rail to columns if the cables reach past the end of the rail.
- Cable details also shows the Columns and the Cable checks.
- The Cable kit lists the parts for a quote. Click Copy summary to paste it in.
Screens shown may change.
Save a pack.
Packs can be created and reused. A layout you build once is ready for the next job.

- Select the displays, or a cable group.
- Click Save as pack and name it.
- Admins can also choose who can use it.
- A full cable group is saved with its rail and cable members.
Packs are available on selected plans.
Reuse it on any project.
Open Add products, choose Packs, then click the pack. The whole pack lands on the layout.

Export it, or share a link.
Show the client the displays as a still, as a video, or as a link.
Still image
Export the displays on your photo as a PNG.
Animated video
Export a short video, so the digital displays play.
Shareable link
Send your client a link to the mockup.
Video export and shared links are available on selected plans.
Try it on your own photo.
Hang displays on cables in your client’s window, save the layout as a pack and share it.
- 14 days
- No card required
- Pre-loaded examples