Digital TV display mockups on your own photo.
Stand digital TV displays on floor stands and poles in your client’s window. No SKU for the screen? Create your own.

- Placed on a real shop photo
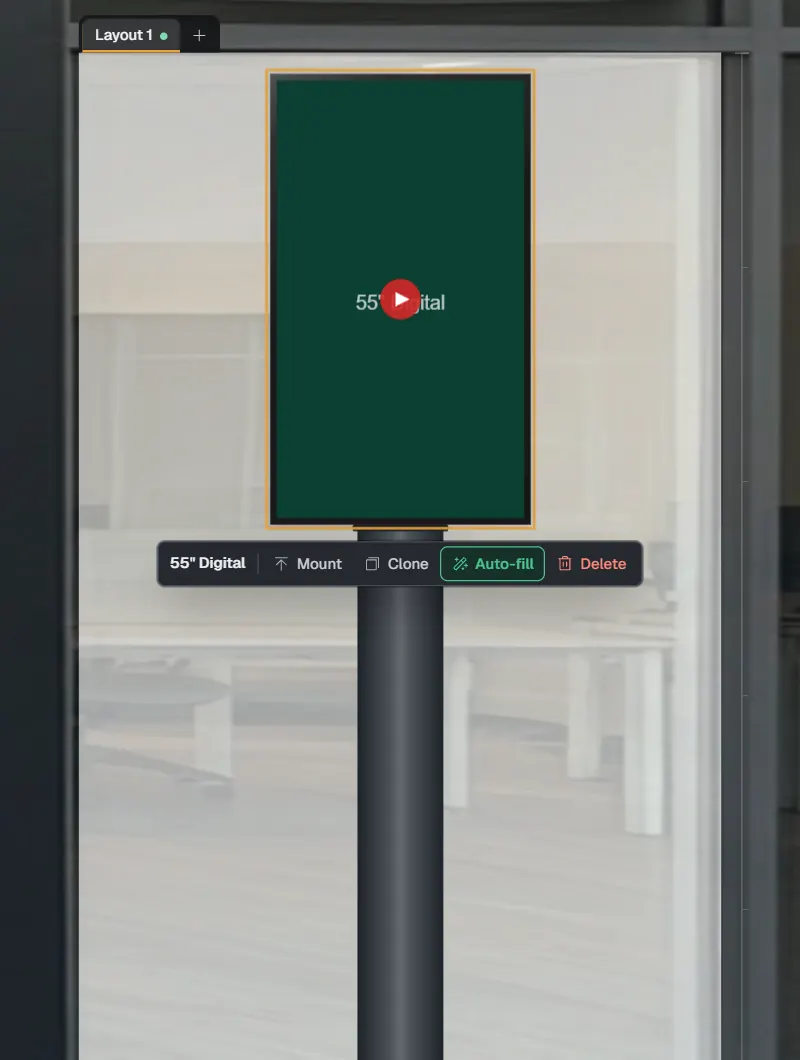
- Digital TV displays on stands
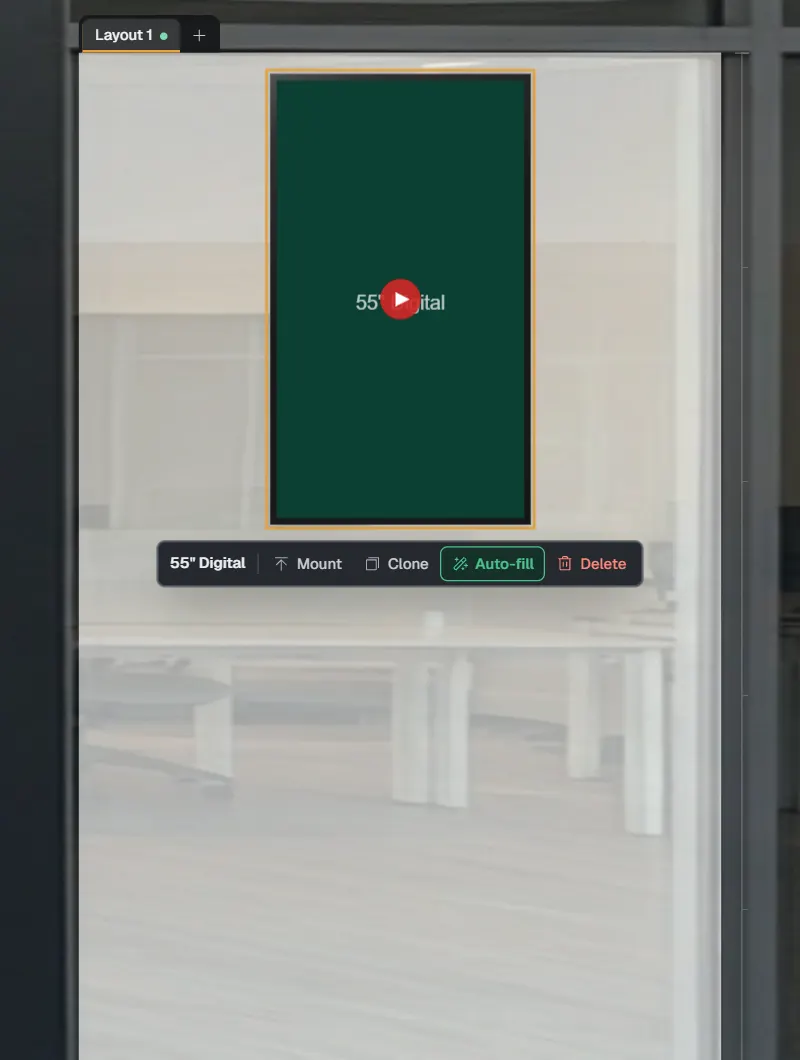
- Red play marker on each screen
Create digital TV displays in the admin.
Choose a category such as Digital TVs, then open Product Details and enter the real sizes.
- Screen width and screen height, in mm.
- Bezel and depth.
- Corners and frame colour.
- The total size is the screen plus the bezel on each side.

Create stands and poles in Mounts.
Mounts lists every floor stand and pole your team can put on a screen. Add your own with New mount.

Filter the list by type
- Floor Stand
- Bottom Pole
- Top Pole
- Floor to Ceiling
Make a new mount.
Pick a type, set the sizes and watch the preview build.
- Choose Floor Stand, Bottom Pole, Top Pole or Floor to Ceiling.
- Add a Name and an optional SKU.
- Set the column profile and the base plate. A live preview shows the result.

Put it on your photo.
Add the screen, give it a stand or pole, then add a visual. Portrait or landscape.
Add the screen
Open Add products, search for the display and click Add. Then select the screen.
Choose a stand or pole
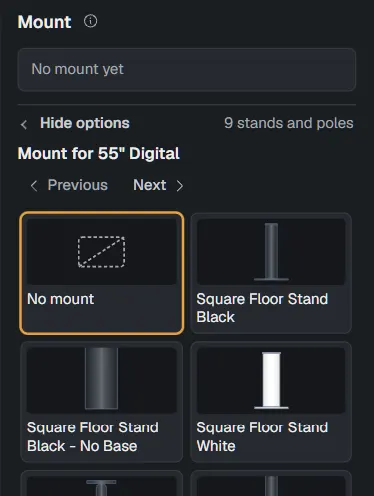
Click Mount, then pick a stand or pole from the strip.
Add a visual
Click Add visual, then see the screen on its stand on your photo.


Screens shown may change.

No SKU? Create your own display.
Users can create their own custom displays if a product does not have a SKU. Open the arrow beside Add, choose Custom display, then New custom display.
- Name it, and choose Digital screen or Static print.
- Type the Screen width and Screen height.
- Set the Bezel, Depth, Corners and Frame colour.
- Landscape, portrait and 3D previews update as you type.
- Click Save custom display. It goes in the Custom list.
- Admins can also choose who can use it.
Custom displays are available on selected plans.
Export it, or share a link.
Show the client the screens as a still, as a video, or as a link.
Still image
Export the screens on your photo as a PNG.
Animated video
Export a short video, so the digital displays play.
Shareable link
Send your client a link to the mockup.
Video export and shared links are available on selected plans.
Try it on your own photo.
Place digital TV displays on stands in your client’s window and share the mockup.
- 14 days
- No card required
- Pre-loaded examples